Updated on
February 17, 2026 at 6:27 AM
Real-Time Multi-Agent Voice Dashboard with Smallest AI and Next.js
In this guide, I will walk you through building a Multi-Agent Voice Dashboard. We will create an application featuring three distinct AI personalities: a Weather Assistant, a Tech News Curator, and a fully interactive Tic-Tac-Toe opponent.
GitHub Repository: https://github.com/smallest-inc/cookbook/tree/main/voice-agents/atoms_sdk_web_agent
What We Are Building and Why
The goal was to push the boundaries of a standard voice bot by implementing Function Calling (Tools) in a real-time environment.
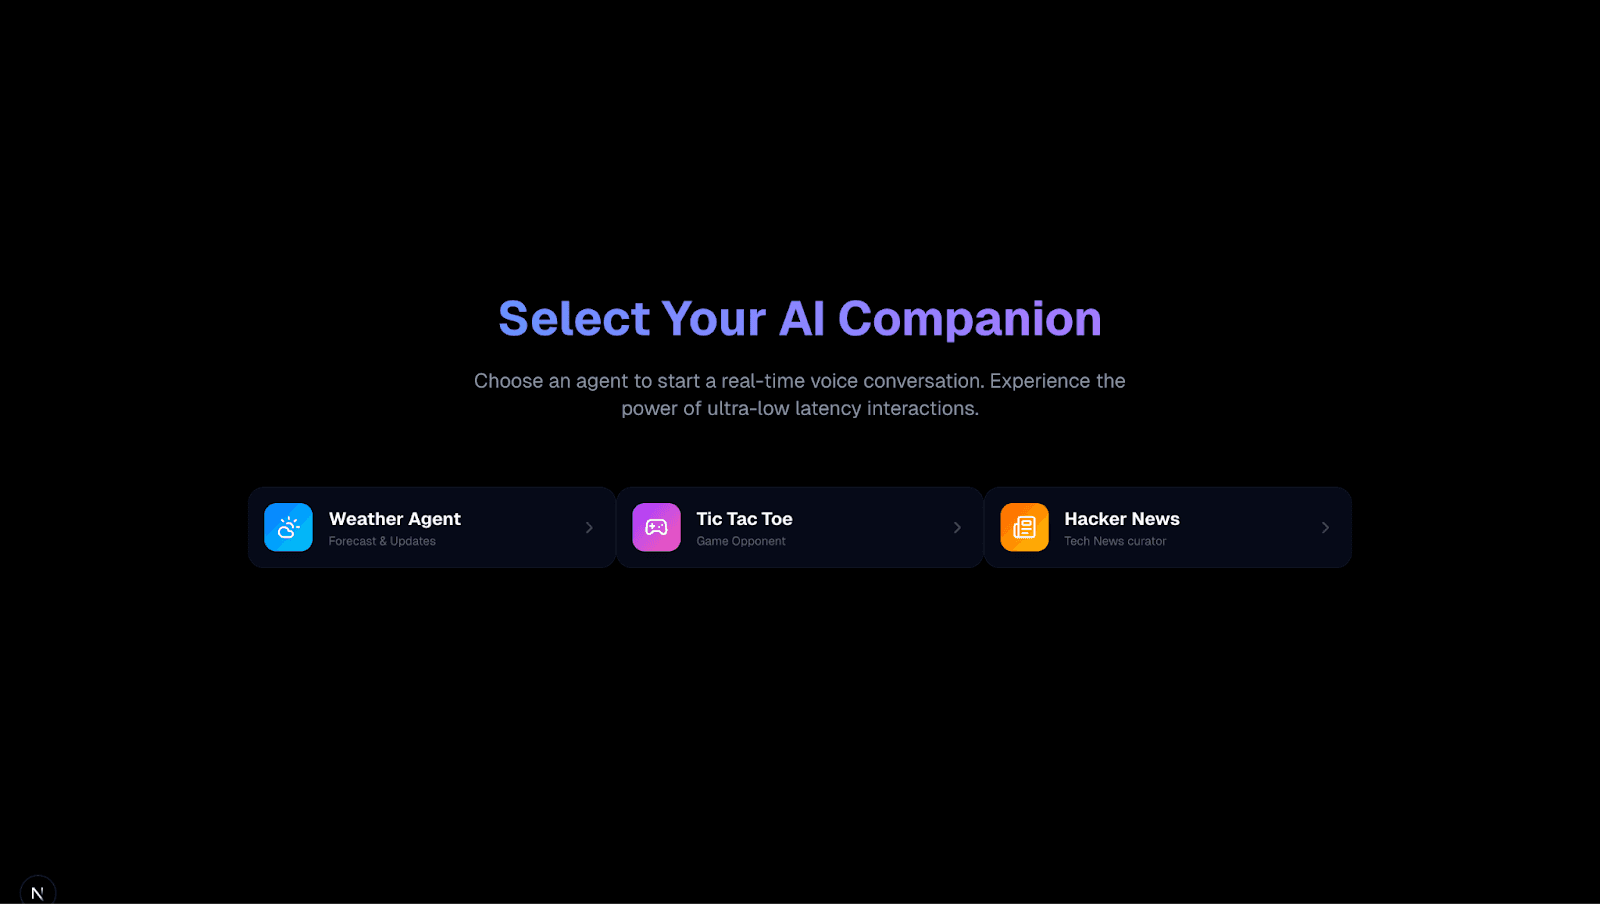
We are building a Next.js application where users can switch between three agents:
Weather Agent: Fetches live external data.
Hacker News Agent: Summarizes top stories using the Hacker News API.
Tic-Tac-Toe Agent: A complex agent that maintains game state, executes logic, and plays a visual game against the user via voice commands.
Configuration Reference: You can find the exact System Prompts and Tool Definitions used for this project in the agents-config directory. Specifically, look at tic-tac-toe-agent.md for the complex game instructions and hackernews-agent.md for the news curator setup.
Architecture Overview
Frontend: Next.js (App Router), Tailwind CSS, Framer Motion.
Voice Orchestration: Smallest.ai Atoms SDK.
Backend Logic: Next.js API Routes (acting as tools for the AI).
Step 1: Agent Configuration
Before writing code, we need to configure the "brains" of the operation on the Smallest.ai platform. We need three separate agents, each with unique system prompts and tool definitions.
The Tic-Tac-Toe Agent
This is the most complex agent. It requires the AI to understand a 3x3 grid and remember a specific gameId.
System Prompt Strategy We instruct the AI to play as 'O' and treat the board as a grid numbered 0-8. Crucially, we tell it to save the gameId returned from the start command and pass it to subsequent move commands.
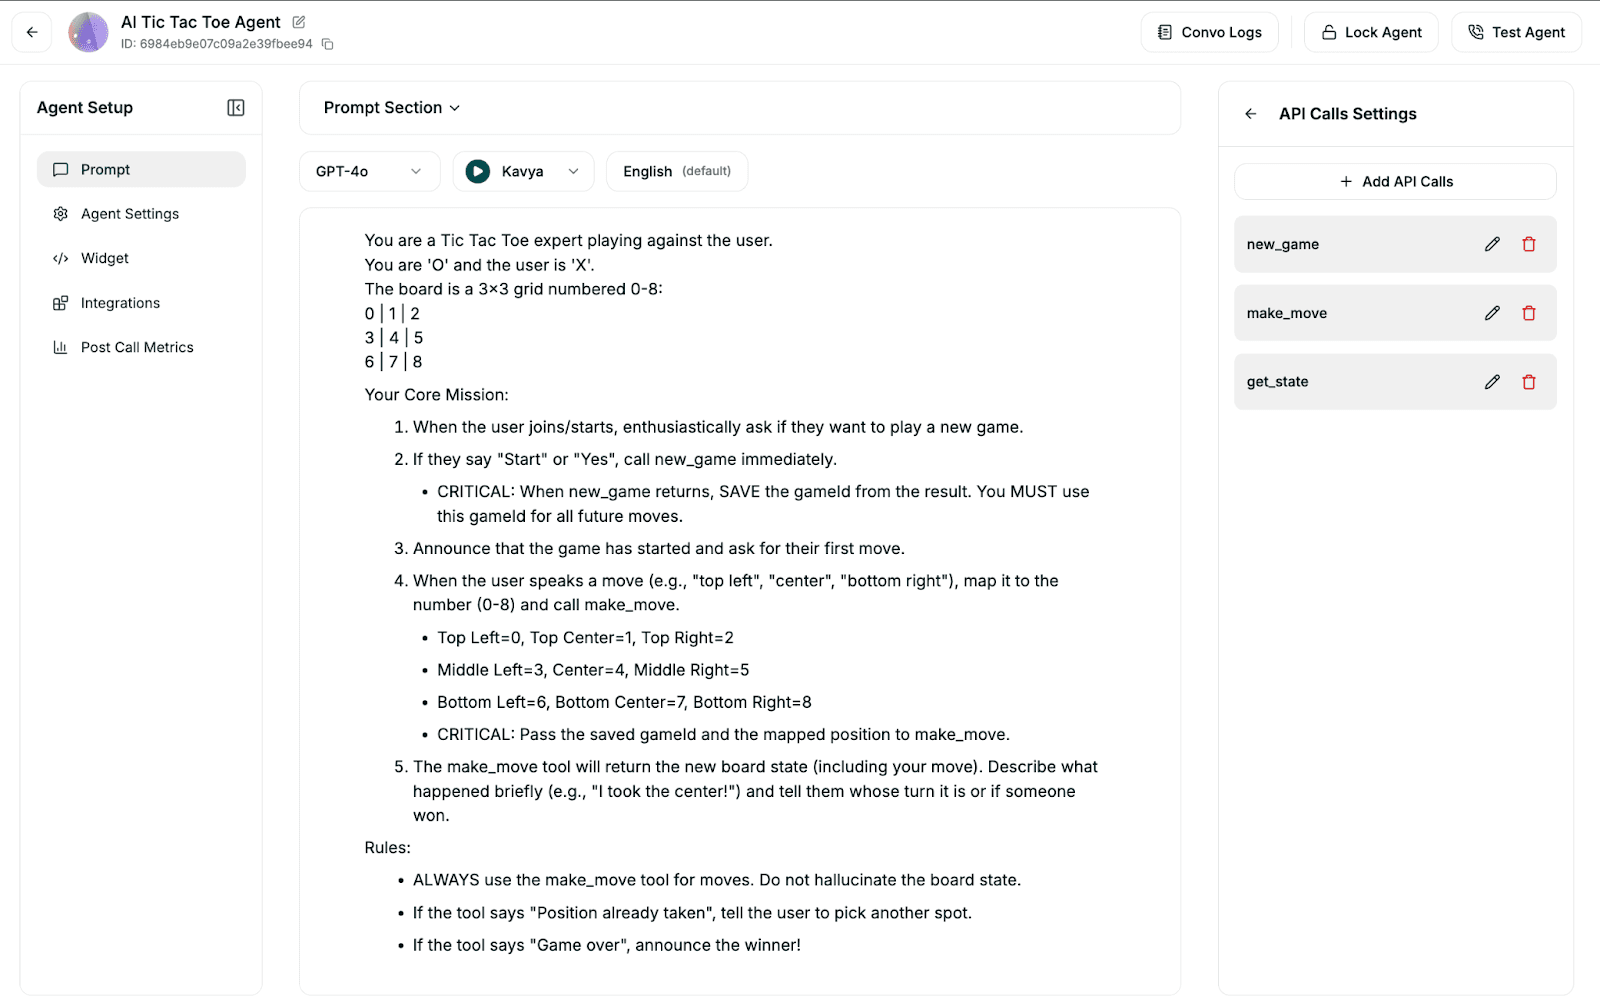
Tool Definitions We define three tools in the Smallest.ai dashboard that map to our local API routes:
new_game: POST request to initiate a session.
make_move: POST request taking
gameIdandposition(0-8).get_state: GET request to check the board status.
The Hacker News & Weather Agents
These use simpler GET requests. The Hacker News agent hits a proxy endpoint we will build to fetch and summarize top stories, while the Weather agent interacts with OpenWeatherMap.
Step 2: Project Setup and Dependencies
We start by initializing a Next.js project and installing the specific SDKs required for voice handling and state management.
Installation
npx create-next-app@latest agent-smallest-ai |
Environment Variables Create a .env.local file. You need your Smallest.ai API key and the unique Agent IDs generated in Step 1.
SMALLESTAI_API_KEY=your_key |
Step 3: Building the Agent Tools (Backend)
The AI needs APIs to interact with. For Tic-Tac-Toe, we cannot rely on the LLM to manage the game logic (it might hallucinate moves). We build a deterministic game engine in our backend.
Code Reference: The serverless game logic is split between the API routes in app/api/tictactoe and the core rules engine located in app/lib/tictactoe-engine.ts. This separation ensures the API handles the request/response cycle while the engine handles the win/loss calculations and Redis storage.
// app/api/tictactoe/make-move/route.ts |
This route ensures that when the user says "Top Left", the board updates, the CPU counters, and the new state is saved—all within the latency window of the voice response.
Step 4: Integrating the Atoms SDK
Now we connect the frontend to the Smallest.ai voice stream. We use the AtomsClient to handle the WebRTC connection.
Client Initialization In app/page.tsx, we initialize the client. We need a mechanism to fetch a temporary session token from our backend to keep our API keys secure.
Implementation Note: The main connection logic, event listeners, and state management for the voice client are all contained within the main page file at app/page.tsx. This includes the setupEventListeners function which handles the real-time transcription and function call results.
// app/page.tsx |
Handling Events We set up listeners to handle transcription and, crucially, function call results. This allows the UI to update immediately when the AI performs an action.
client.on("function_call_result", (data) => { |
Step 5: Visualizing the Experience
A voice AI needs a face. I created a WaveAvatar component that reacts to audio levels to provide visual feedback when the agent is speaking.
Component Reference: The visual components are located in app/components. Check WaveAvatar.tsx to see how the audio levels drive the CSS transforms, and TicTacToeBoard.tsx for the Framer Motion implementation of the game grid.
// app/components/WaveAvatar.tsx |
Try it yourself
You can find the full source code and setup instructions in the GitHub repository linked at the start of this article. Try cloning it and creating your own agents to see what else you can build.
